Introduction
This article contains a step-by-step guide to backing up hosted microsoft exchange accounts using Outlook. Although this guide was prepared using Outlook 2013, the steps are nearly the same for Outlook 2007 and Outlook 2010.
The contents of this article only apply to hosted exchange email accounts. For standard email accounts, see Backing up mail accounts
PreRequisites
To complete the steps in this article, the following items are required:
- Outlook must already be configured to access the target account.
- For improved performance and reliability, it is recommended that Outlook has completed folder synchronisation. If the account has only just be configured in Outlook, good practice is to let Outlook to fully synchronise all messages and folders priors to creating a backup.
- Sufficient space to store the backup files. Hosted Exchange accounts may be upto 125GB in size, so backup files will be of an equivalent size.
- The time required to backup your mailbox will depend on a number of factors including the speed of your Internet connection, the size of your exchange mailbox and the performance of your computer.
- You will not be able to use Outlook whilst a backup is being created. If your exchange mailbox is many gigabytes in size, the backup process may take several hours to complete.
- During the backup process, you may still access your account using Outlook Webmail. Using Webmail should have no detrimental affect on the backup process.
Method
1. Open Outlook and go to the File tab
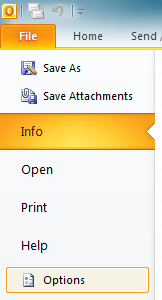
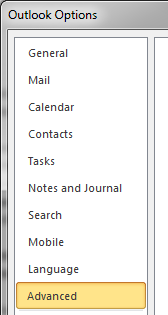
2. Click on Options and then click on Advanced
3. Under Export click on Export

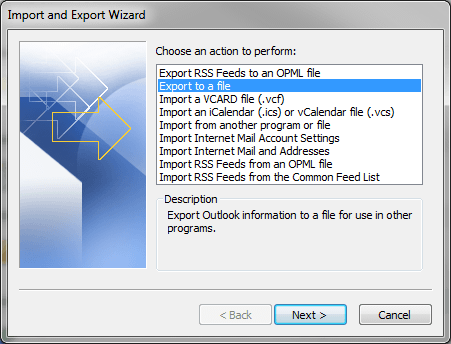
4. In the Import and Export Wizard, select Export to a file and click on Next
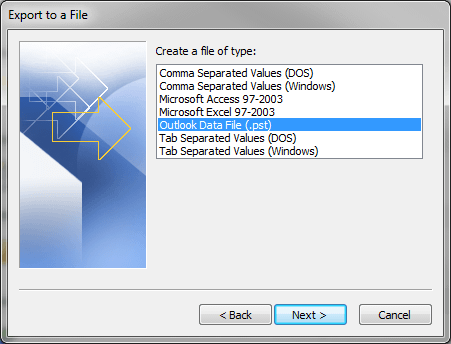
5. Select Outlook Data File (.pst) and click on Next
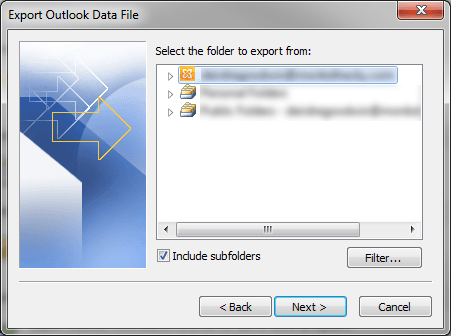
6. Select the account that you wish to export. Make sure the Include subfolders checkbox is ticked/checked and then click on Next.
7. Click on Browse to select where you wish to save the backup file - an Outook Data file (.pst). Click on OK to continue.
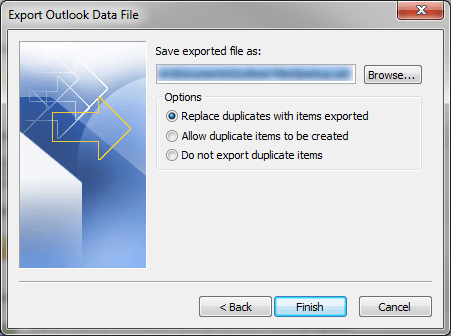
Important: If you have previously created an Exchange/Outlook backup, you may wish to specify a new filename otherwise you may overwrite any existing backup.
8. Click on Finish
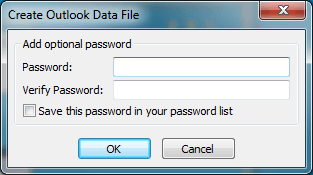
9. If this is a new back, you may, optionally, specify a password to protect the backup file. Click on OK to start the backup.
If you are adding to an existing backup, you may be prompted to enter a password.
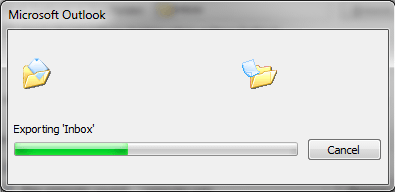
10. The backup or export process will now begin. As stated in important information above, you will not be able to use Outlook until the backup has completed.
Storing Backups
Where and how a backup is stored is just as important as its' creation. Ideally, backups should be stored on a resilient media in a separate and secure geographical location. If this is not possible, backups should not be stored on personal computers but on a secured storage device.